This guide will take you through the Zebra LP 2824 driver and printer setup process step by step for Windows.
1. Install the Zebra LP 2824 Plus setup utility.
You can download the LP 2824 Plus setup utility here.
2. Run the .exe file after it has downloaded to install the setup utility.

Click "Next" and then accept the license agreement to continue.
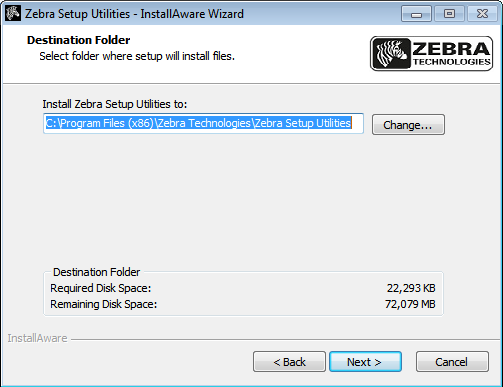
Choose your destination folder and continue through the subsequent prompts to complete the installation.

Once the installation has finished, click "Next" and run the Zebra Setup Utility.
3. Run the setup utility to install the printer and drivers.

For USB printer, select USB (Universal Serial Bus)
For a LAN printer, select the "Other computer ports" option and click Next.

Click the "Finish" button to continue with the setup.

Click "Next."
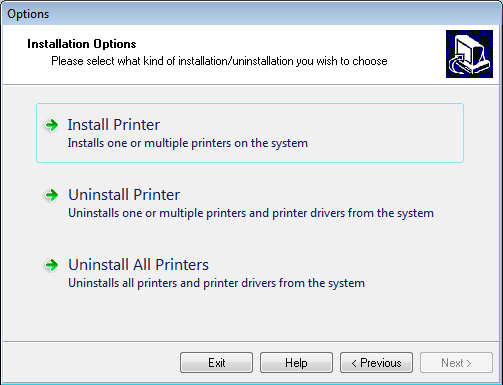
Click "Install Printer."

Select "ZDesigner LP 2824 Plus [ZPL]" and click "Next."

If you have a USB printer, select the USB port and click the Next button to proceed and skip the next step! If you have a LAN printer, in this window, click the "Add Port" button.

Enter "Zebra" in the name field or another name of your choosing.
Enter the printer's IP address. To get the printer's IP address, hold down the feed button on the printer until it flashes once, and then let go. The printer will print the IP address.
Click "OK" to continue and then with "LAN_Zebra" selected, click "Next."

You can optionally check or uncheck the boxes on this window to install additional software from Zebra.
Click the "Finish" button to complete the installation.
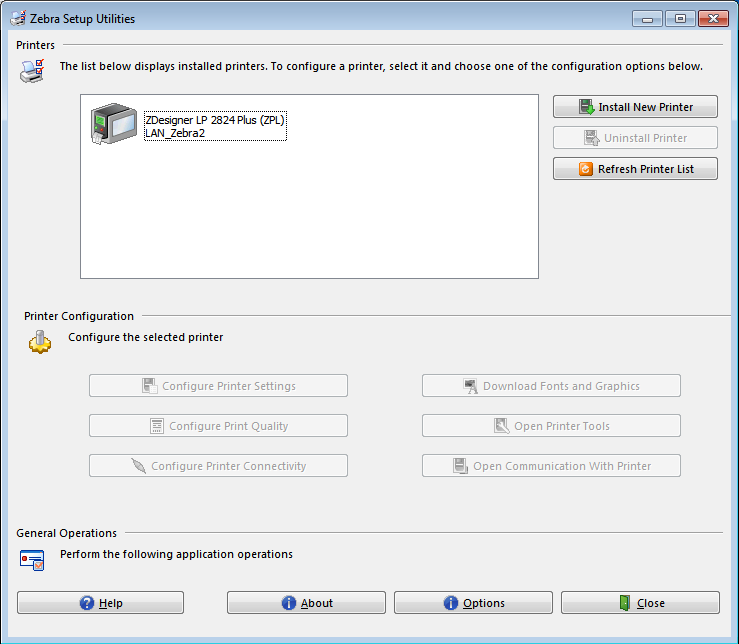
Once you have successfully installed your printer, it will appear in the list of printers above. When printing labels from Chrome you should have an option to send them to the Zebra printer.