Verified Refund:
The TabPOS has the option of requiring the cashier to have a valid sales receipt # in order to do a refund. This feature is enable on the POS, under the Configuration Tab>General>Transaction
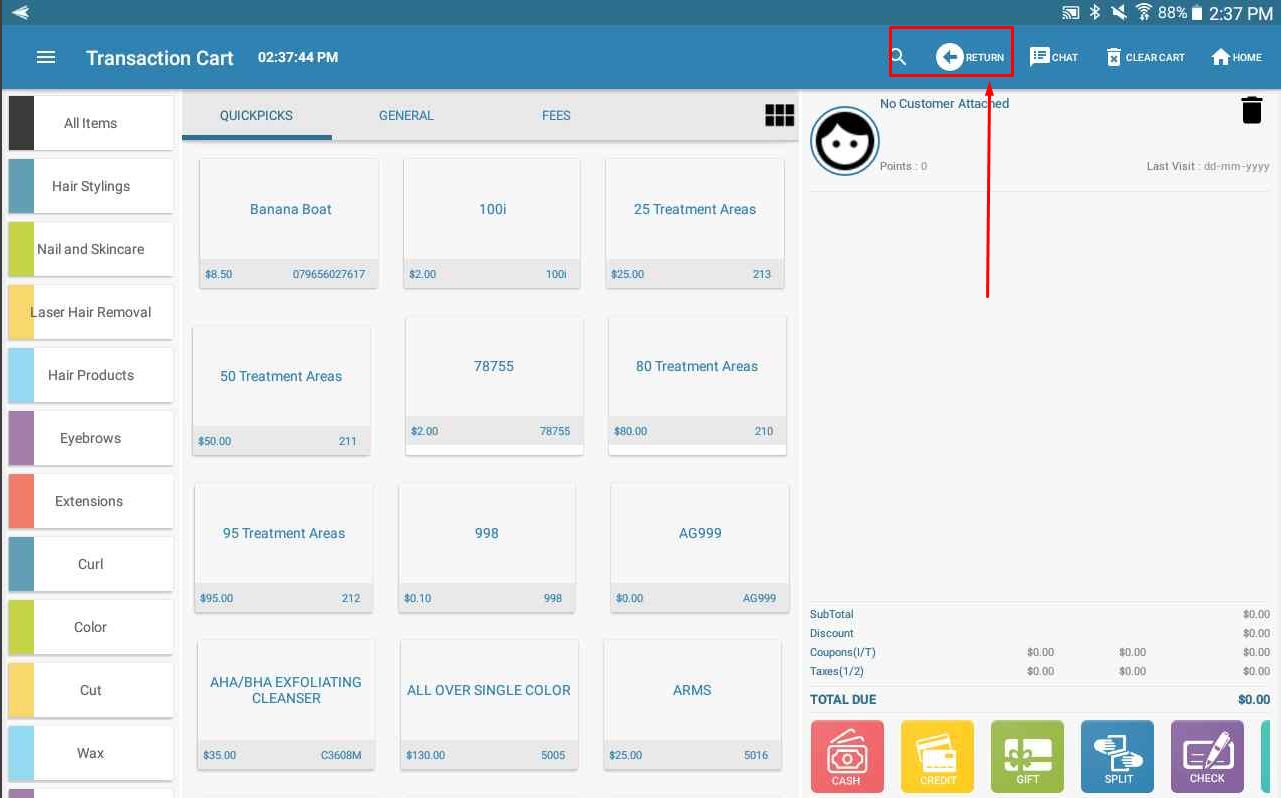
Processing a refund with Verified Refunds Enabled:
- On the sales transaction screen, Press the return button at the top of the screen
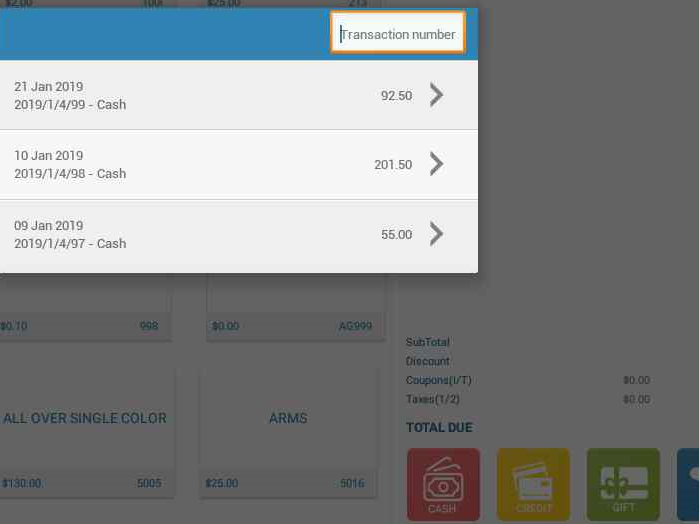
- Scan the bar code on the bottom of the receipt, into the box that says Select Receipt. If a receipt is not present, you will need to enter the transaction # (2016/X/X/XXX).
- The transaction # may also be available from the Select Receipt drop down, if sold at the same store
- A transaction number is required to process a refund.
|  
|
Items to refund in cart:
Once the transaction number is entered, you will have the question, are you returning all items (Yes/No).
- If yes, all items from the receipt are placed in the cart to return (you can delete any from the cart that are not being returned)
- If no, the cart will not be populated and you will need to enter the items from the original transaction in the sales cart.
Completing the return:Select tender type as usual. If refunding to credit card, it will process credit on original credit card used. | 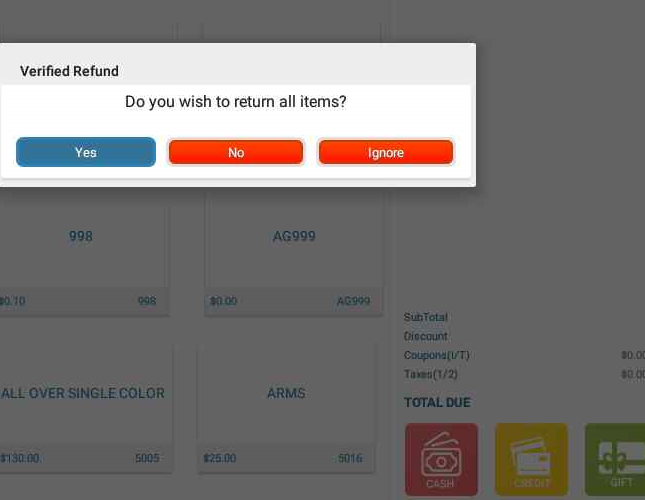 
|
Refund without verification:
If you wish to process a refund without requiring the transaction #, the steps are similar to those above. You will first need to disable the "verify" option in the configuration settings mentioned above.
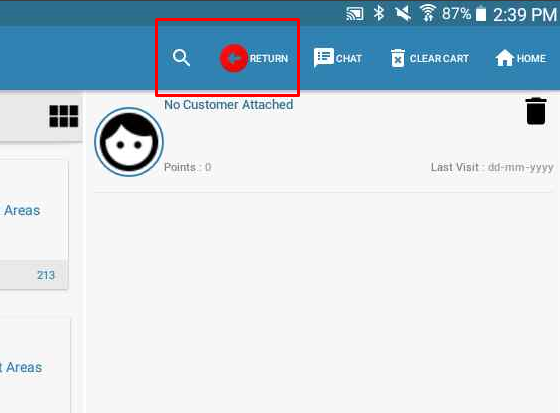
Items to refund in cart:
- Select the Return button at the top of the screen. It will return red, and you are now in the return mode.
- You will now add the items to the cart, which you wish to return. There will be no step requiring you to enter a transaction number.
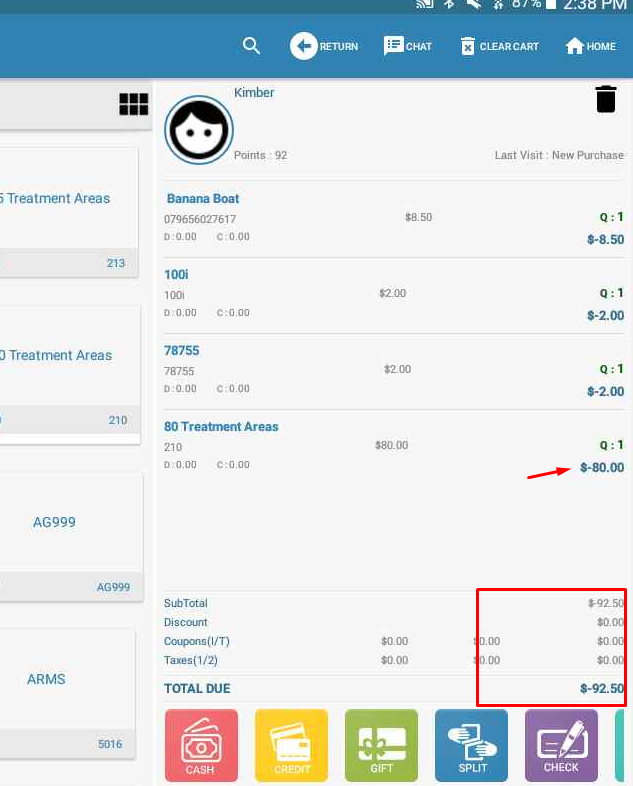
- The items will enter the transaction at a negative total.
Completing the return:Select tender type as usual. If refunding to credit card, it will process credit on original credit card used.
|   |
Exchange items:
In the moment you wish to perform an exchange on items, begin with the Refund option above. Before choosing to tender the refund, follow the steps below to add the exchange items to the transaction.
Add items you wish to exchange:
- Before adding items you wish to process as an exchange, verify the Return option at the top has been turned off. This will be indicated by the return button being white instead of red.
- Once the return mode has been turned off, add the items you wish to exchange.
- You will see the items being returned show a (-) in front, and items being sold in exchange, will show at a positive amount.
- If any refund is due to the customer, it will show in the total as a (-) amount. Continue tendering the transaction to refund the customer the difference.
- If an amount is due to collect from the customer, it will show in the total as a positive amount. Continue tendering the transaction to collect amount due from the customer.
|  |
Videos Available:
Processing a Return on Tablet
If store credit is needed in place of a refund